|
|
Marking out for fuel gauge sender |
|
|
|
Navigation & Acknowledgements |
5 pictures on this page - scroll down to see the rest
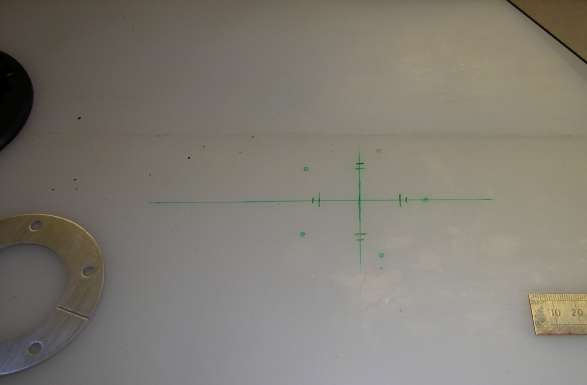
Marking tank for gauge sender: 2008-11-20
Nikon Coolpix 8400
Marking the top of the fuel tank for the gauge sender hole. I marked the main cross-lines first with a fine felt-tip pen, then added small ticks to show where the ID of the boss and the split-ring should be. You can see I've already marked the positions of the screw-holes.
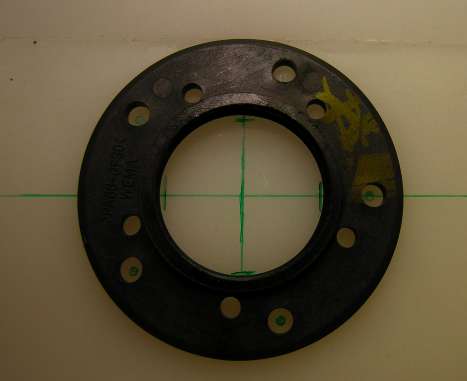
Marking tank for gauge sender: 2008-11-20
Nikon Coolpix 8400
The threaded boss in position on the marked lines. It has just-visible felt-tip pen marks on it at 3 o'clock to show where the cable will exit. With that correctly aligned, the screw hole positions were marked. There is no mention of the inner set of screw-holes in the instructions from Europa; presumably they are for some different type of mounting.
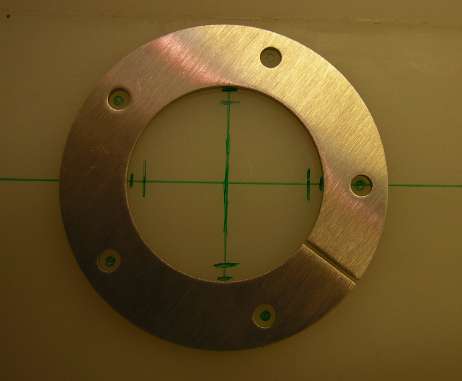
Marking tank for gauge sender: 2008-11-20
Nikon Coolpix 8400
The split-ring in position, lined up with the screw positions.
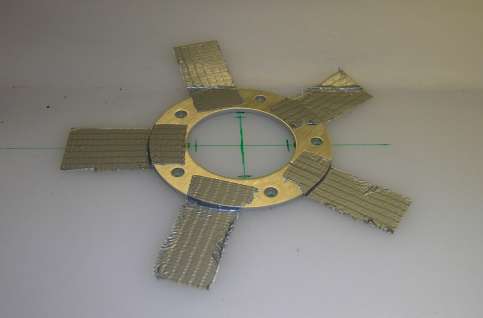
Marking tank for gauge sender: 2008-11-20
Nikon Coolpix 8400
Split-ring taped down ready for melting the hole in the tank with a soldering iron.
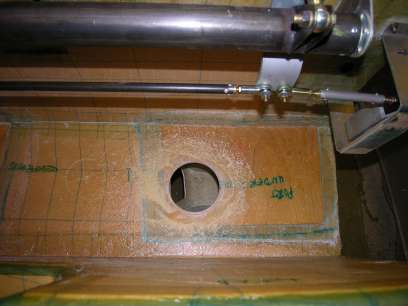
Headrest hole for tank sender: 2008-11-20
Nikon Coolpix 8400
The neat hole produced by a 102mm holesaw in the port headrest base to give clearance for the head of the fuel gauge sender.
|
|
|
go to next picture page |
|
|
||
| Return to Rowland's home page |
| This page last updated 2013-10-16. I try to make this page as accessible as possible, by adhering to HTML 4 standards. |
|
|
| I welcome comments on this website. However, because of the amount of spam it attracts, I no longer post a direct e-mail address on any page. Instead, please click here to contact me. You will have to confirm that you are human before the message will be sent on to me. | ||