|
|
filling tailplane |
|
|
|
Navigation & Acknowledgements |
5 pictures on this page - scroll down to see the rest
filling tailplane: 2018-08-28 Panasonic DMC-FT1
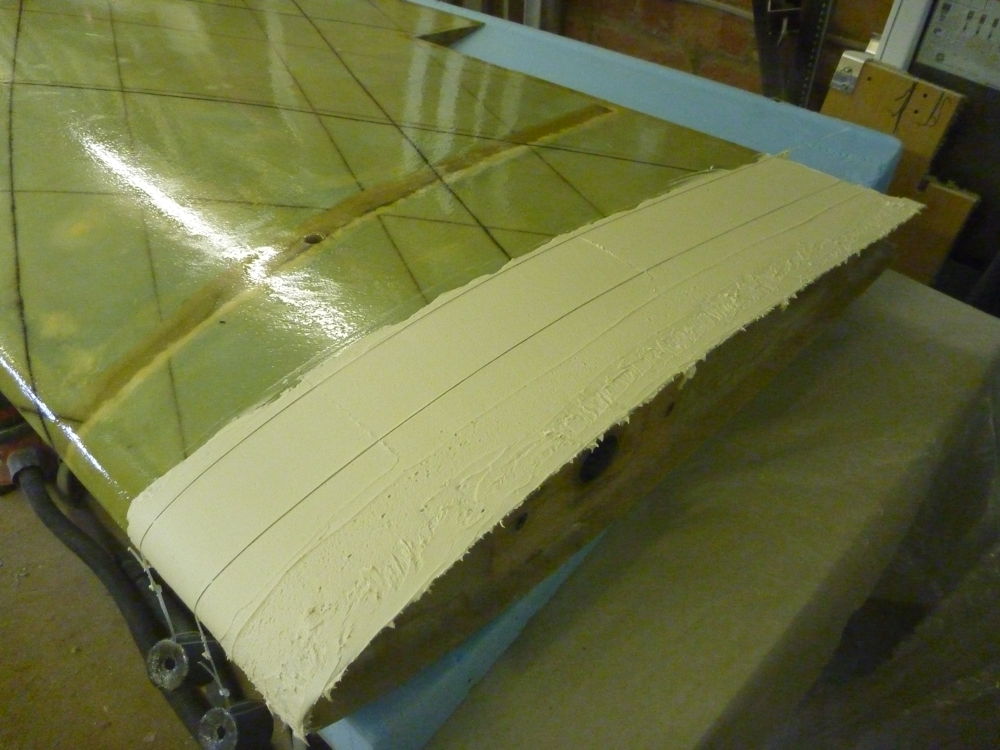
Starting to fill the upper surface of the starboard tailplane. The nylon lines used to guide the plaster's trowel when flattening off the filler are visible here. Also obvious is the slightly messy area at the root where the slot left behind after lifting the first line has been touched up with the corner of the filling knife. The unfilled area to the left is glossy with a thin coat of Ampreg 21 epoxy. The joggle in the reflected light at the rib position illustrates well the need for filler.
filling tailplane: 2018-08-28 Panasonic DMC-FT1
Filling the upper surface of the starboard tailplane.
filling tailplane: 2018-08-28 Panasonic DMC-FT1
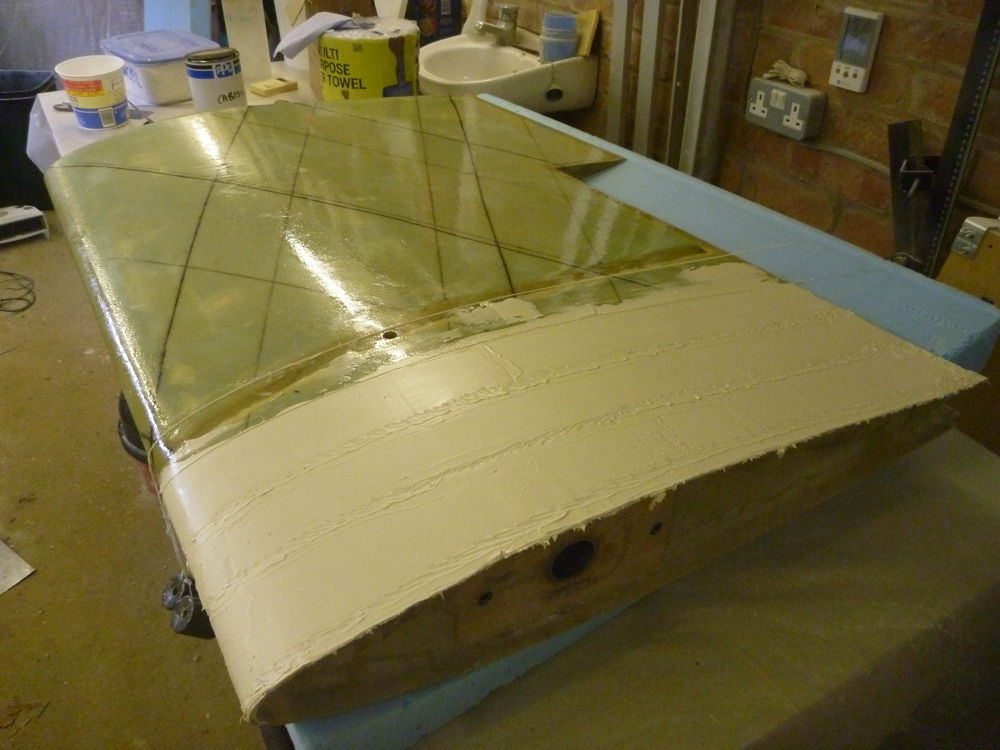
Filling the upper surface of the starboard tailplane. The nylon lines are spaced further apart here as I gained confidence to use the full length of the plasterer's trowel.
filling tailplane: 2018-08-28 Panasonic DMC-FT1
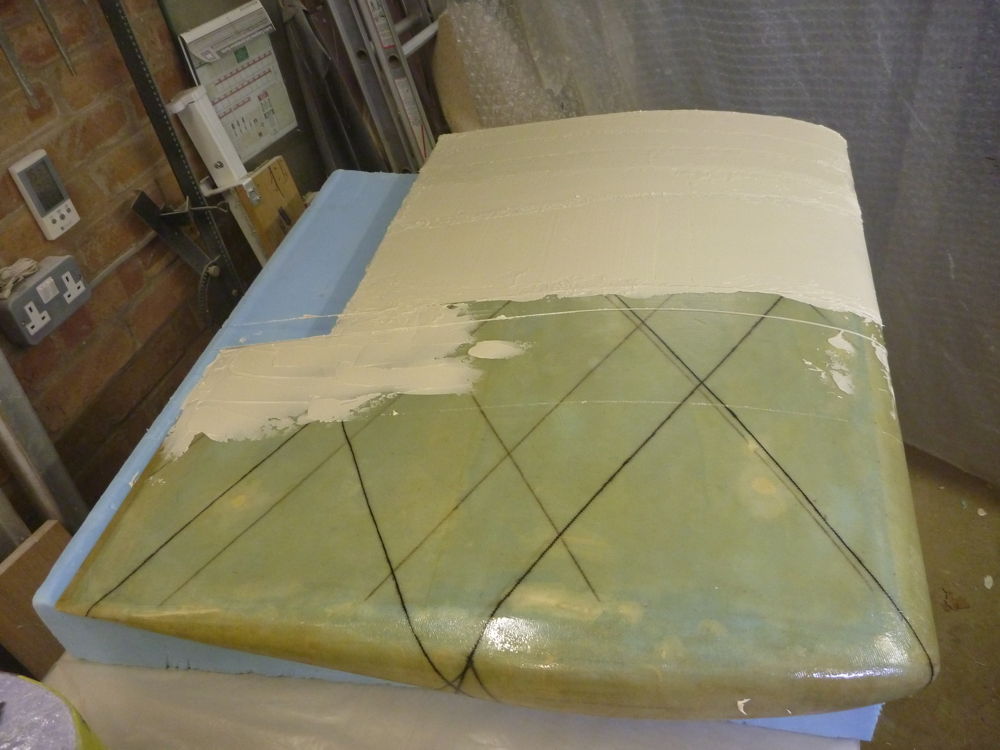
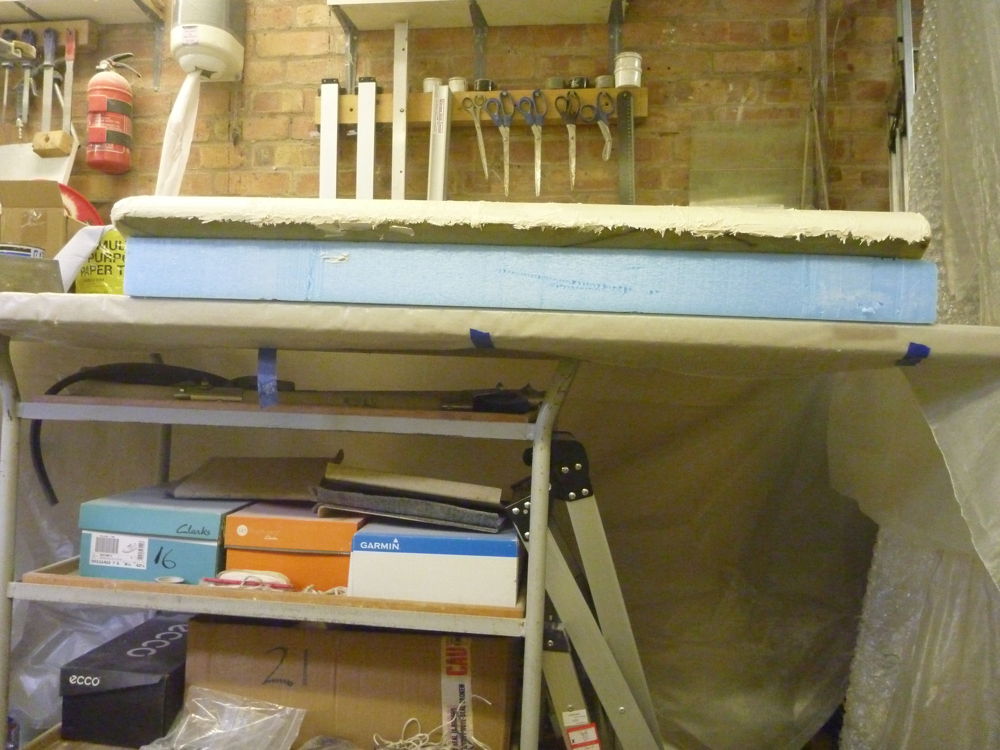
Starboard tailplane upper surface filled.
filling tailplane: 2018-08-28 Panasonic DMC-FT1
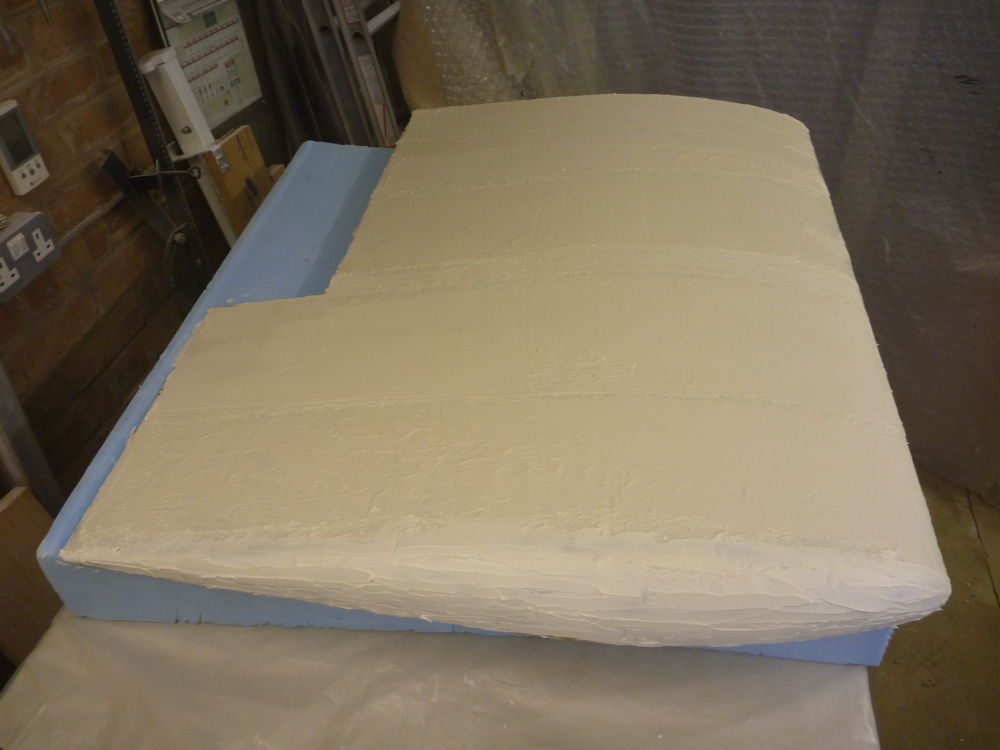
Starboard tailplane upper surface filled, showing how the filler has been taken around the LE.
|
|
|
go to next picture page |
|
|
||
| Return to Rowland's home page |
| This page last updated 2018-10-08. I try to make this page as accessible as possible, by adhering to HTML 4 standards. |
|
|
| I welcome comments on this website. However, because of the amount of spam it attracts, I no longer post a direct e-mail address on any page. Instead, please click here to contact me. You will have to confirm that you are human before the message will be sent on to me. | ||